Building A Workshop In A Small Garage
Transforming a small garage into a functional workshop can be a rewarding experience. In this guide, I'll share my journey, practical advice, and essential tips for maximizing your space.
Transforming a small garage into a functional workshop can be a rewarding experience. In this guide, I'll share my journey, practical advice, and essential tips for maximizing your space.
When I first decided to turn my small garage into a workshop, it was a daunting task. The space was filled with boxes, old furniture, and remnants of past projects. I realized that before I could even think about tools and organization, I needed to clear out the clutter. A clean slate is essential for any workshop setup.
In my journey, I made several mistakes that taught me valuable lessons. Here are some common pitfalls to avoid:
Many people underestimate how much space they actually have. I initially thought I could fit a large workbench, but after measuring, I realized a compact model would serve me better.
It's easy to get caught up in aesthetics, but workflow is crucial. I learned to arrange tools and storage based on how often I use them, keeping frequently used items within arm's reach.
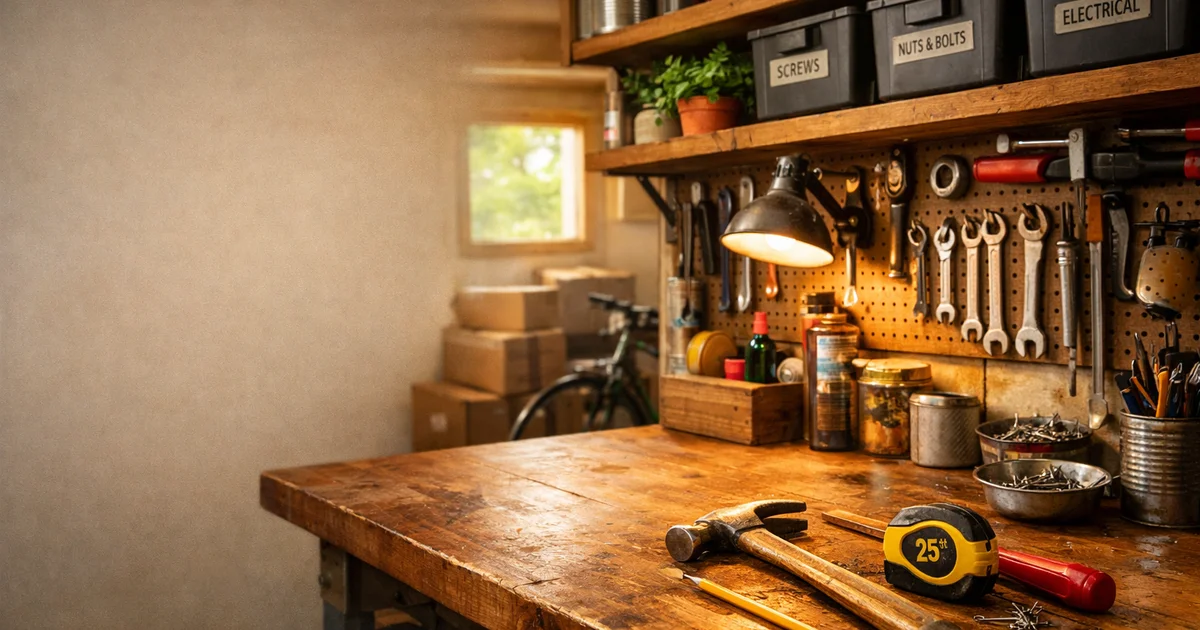
Proper lighting and electrical access are essential. When I first set up, I didn't consider how dim the garage was; now, I prioritize bright, efficient lighting to reduce eye strain.
One of the most significant realizations I've had is that it’s not about how much space you have, but how well you organize it. A well-organized small workshop can be more effective than a large, cluttered one.
A workbench is the heart of any workshop. For me, finding the right one was crucial. Here are some key factors to consider:
Choose a workbench that fits your space and is at a comfortable height for you. I prefer a sturdy workbench that can withstand heavy projects without wobbling.
A durable surface is essential. I opted for a hardwood top, which is great for woodworking and can take a beating.
Look for benches with built-in storage or consider adding shelves or drawers underneath. I installed a few drawers for smaller tools and supplies, which keeps my workspace tidy.
In a small garage, every inch counts. Here are some effective storage solutions I've implemented:
Using magnetic toolbox drawer labels has revolutionized how I store small parts. These labels help me quickly identify what's where, reducing the time spent searching.
See store for price
Investing in compact organizers is a game changer. The Milwaukee Packout Compact Organizer fits perfectly on my shelf, keeping my smaller tools safe and organized.
See store for price
Having a few dedicated toolboxes for specific tasks keeps everything in its place. I use one for woodworking tools and another for automotive tools, which helps me stay focused when switching tasks.
See store for price
Lighting can make or break your workshop experience. When I first started, I underestimated the importance of good lighting. Here’s what I’ve learned:
I invested in LED high bay lights that provide bright, even illumination across the entire space. This has made a significant difference, especially during detailed work.
See store for price
Ensure you have enough power outlets for your tools. I installed additional outlets around the workshop to avoid using extension cords, which can be a trip hazard.
Consider how you move around the space. Arrange your workbench, tools, and supplies in a way that minimizes unnecessary movement. I’ve found that a good layout saves me time and energy.
Over the years, I’ve developed a list of essential tools that I believe every workshop should have:
Investing in quality hand tools is paramount. Brands like Knipex and Wera produce tools that are both durable and reliable. I have a set of Knipex pliers that I’ve used for over a decade.
A sturdy power drill and a reliable saw are must-haves. I rely on my DeWalt drill for everything from assembling furniture to drilling into concrete.
Having the right maintenance tools is critical for keeping everything operational. I keep a set of GearWrench sockets for automotive repairs and general maintenance tasks.
As my skills have developed, so has my workshop. Here are some upgrades that significantly improved my setup:
Switching to LED lighting was a game changer. It not only brightened the space but also reduced my electricity bill.
Adding wall-mounted storage for tools and parts has cleared up my workbench and made it easier to find what I need.
Investing in a mobile workbench and tool carts has made it easier to move tools and materials around the workshop, adapting to different projects seamlessly.
Building a workshop doesn’t have to happen overnight. I recommend starting small and gradually acquiring tools and equipment:
Begin with the most essential tools. As you become more comfortable, add more specialized equipment as needed.
Take your time to learn about each tool and its purpose. This hands-on experience will help you appreciate what you need and what you can do without.
From day one, focus on organization. A well-organized space will make it easier to work and will prevent clutter from building up.
In conclusion, a well-organized small workshop can be more productive than a large, poorly planned one. By focusing on organization, choosing the right tools, and planning your space thoughtfully, you can create an environment that fosters creativity and efficiency. Remember, it's not about the size of the workshop, but how you use it that truly matters.
Comments
Join the discussion — your nickname is saved in this browser.
what is the obsession with toolboxes? they just make things harder to find.
y'all forget the most important tip: snacks. you can’t work on an empty stomach!
anyone else think organizing is overrated? just shove it all in a corner lol